Pages

Showing posts with label Nails. Show all posts

Friday, March 23, 2012

SIMPLE "GALACTIC" NAILS !

STARRY NIGHT/GALACTIC  NAILS
Hey yall, here is a simple nail "style" I am rocking today, just wanted to share with you! I change my nail colors and styles often so i try and post some to give you some ideas of your own.
What I did was started with a clear nail base, if you color you nails as often as I do, depending on which brands you use, without a base coat your nails may turn yellow. So to avoid that, I just start with a base coat. Any clear nail polish will do.


Here are the steps:

1. Clear base coat
2. Polish nails with a Silver nail color (one or two coats)
3. Apply glitter top coat (one or two coats)
4. Apply clear, high shine topcoat
DONE!


BRANDS USED:
1. L.A. Colors clear nail strengthener/hardener
2. L.A. Colors "Color Craze" line #BCC 558
3. NYC Long Wear nail enamel in Starry Silver Gitter #105
4. Sally Hansen's "No Chip" Acrylic toap coat

Monday, January 9, 2012

2012 Nail Trends

How many people are HAPPY to get away from the crackle pot nail polish that dominated 2011?? While it was still very funky and creative, there are so many new nail trends to look out for this year, even more innovative and exciting than the last. Here are a few of my faves to look out for. As I try them I will upload more and more pics of my take on these trends! And you do the same!

Pairing nails with lips
Try magentas, vibrant oranges, firey reds, and if you are really bold, periwinkle on lips and nails! Whoohoo! Don't b shy have fun! The possiblities are endless!
Nail color is Lacey Lilac by Sally Hansen's Xtreme Wear collection, the lip color is a mix Nk lipstick in Tango and Blue Fame lipstick #177. both were under $2!
Crystal clear artificial nails
The goal with this look is to make your artificials look as natural as possible. You can go with crystal clear gels, never failing french manicure, or clear nails with white stencil designs on top.
These are actually press ons call "Natural Deceptions!" love them!
Short and Neutral nails
I have always had a thing for short nails. Idk why, while everyone was rushing to the nail salon every two weeks for their "re-fill" I was always content with painting my stubby, sometimes long, natural nails. This year, your taupes, greige, peach, etc. are what will bring that trendy, well put together sophistication back.


Rainbow Bright nail color
This trend will forever be a hit because who doesn't love color? Everyone young and old, loves to look at beautiful pinks, purples, yellows, oranges and so forth--so why not wear them on your nails?


No Nail the Same
Very funky and playful. Cant wait to try this one. In 2011, we all, including celebs were seen painting just one nail a different color. In 2012 this trend will go into full-on nail chaos! You can get really creative with this by alternating one minx print nail design, or free hand patterns and one solid colored nail.


Comment and Post pics of your personal take on these trends!! Hope you likey! Be sure to follow/Subscribe!!!

Love ya! xoXoxo

p.s. the first two pix are mine, the others off the internet! Enjoy!

Tuesday, October 19, 2010

Complex Nail Design

Wow! Right?? DETAILS COMING SOON!

New Nail Design I call, Sunset Boulevard

Instructions on how you can create this design on your own, coming soon!

Saturday, May 22, 2010

New Nail Design: Jungle Kitten!

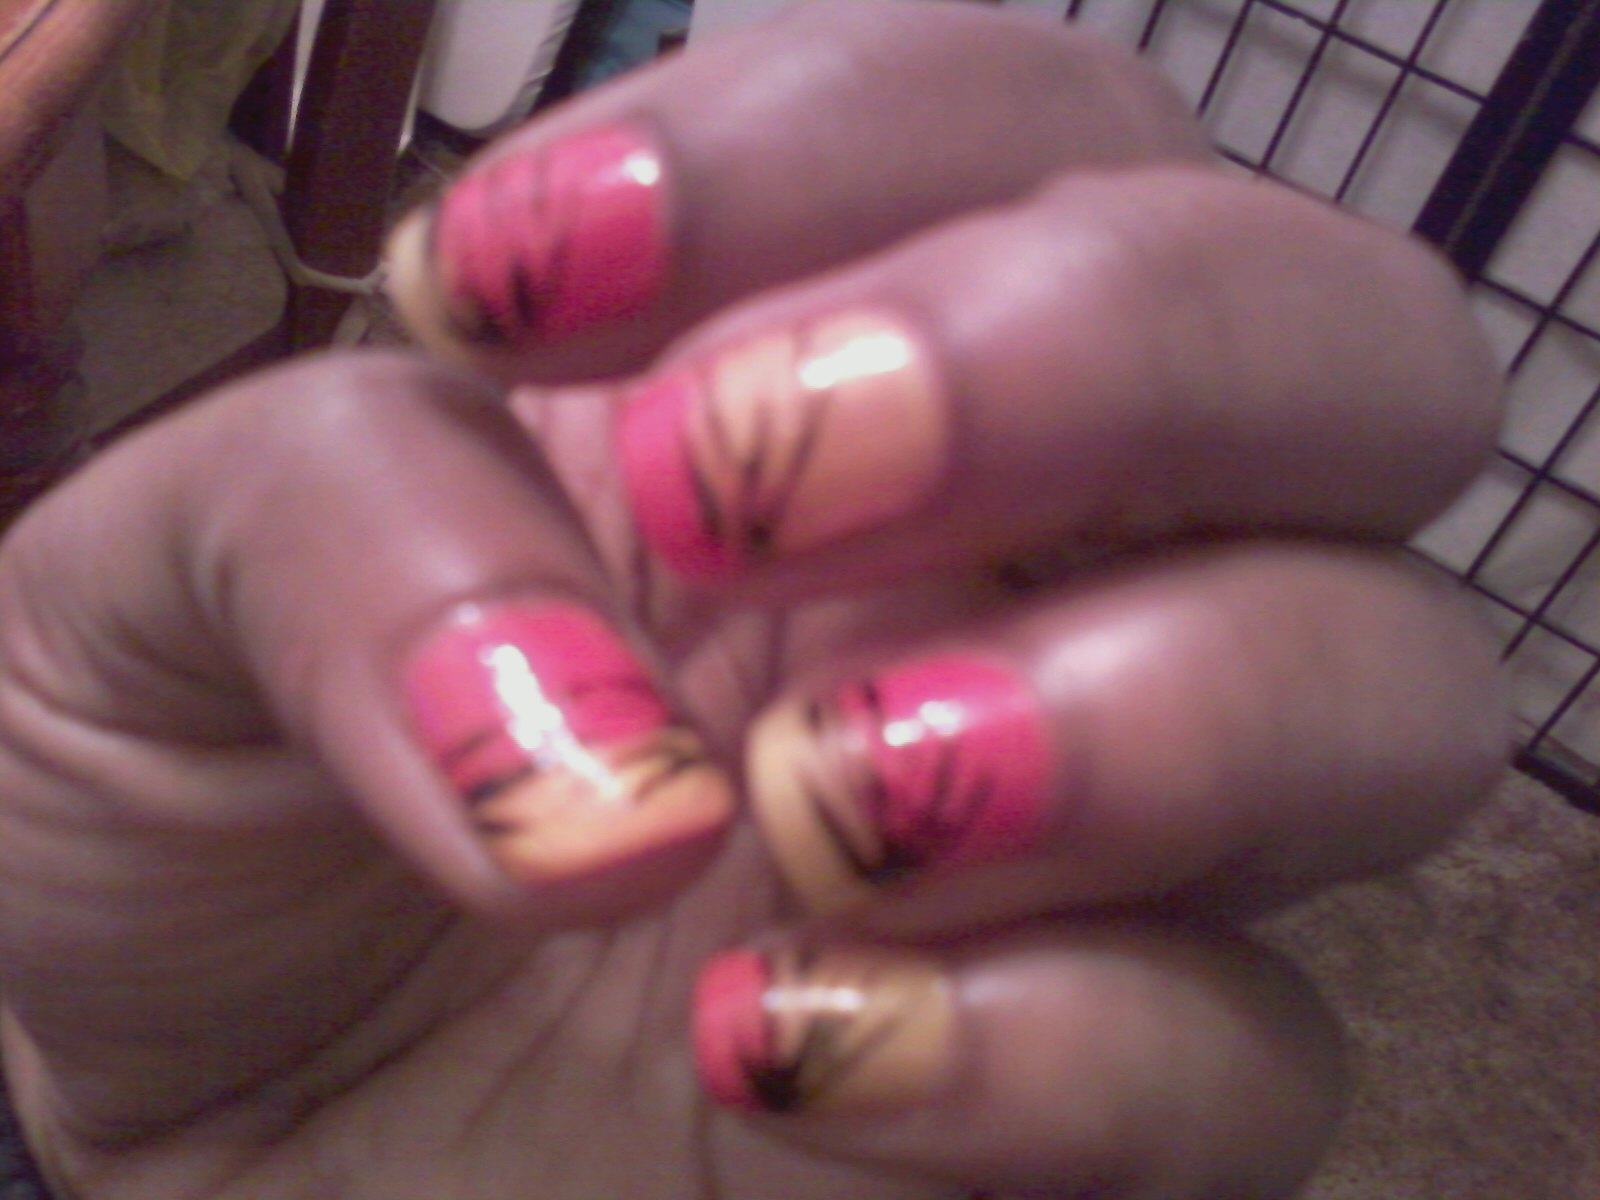
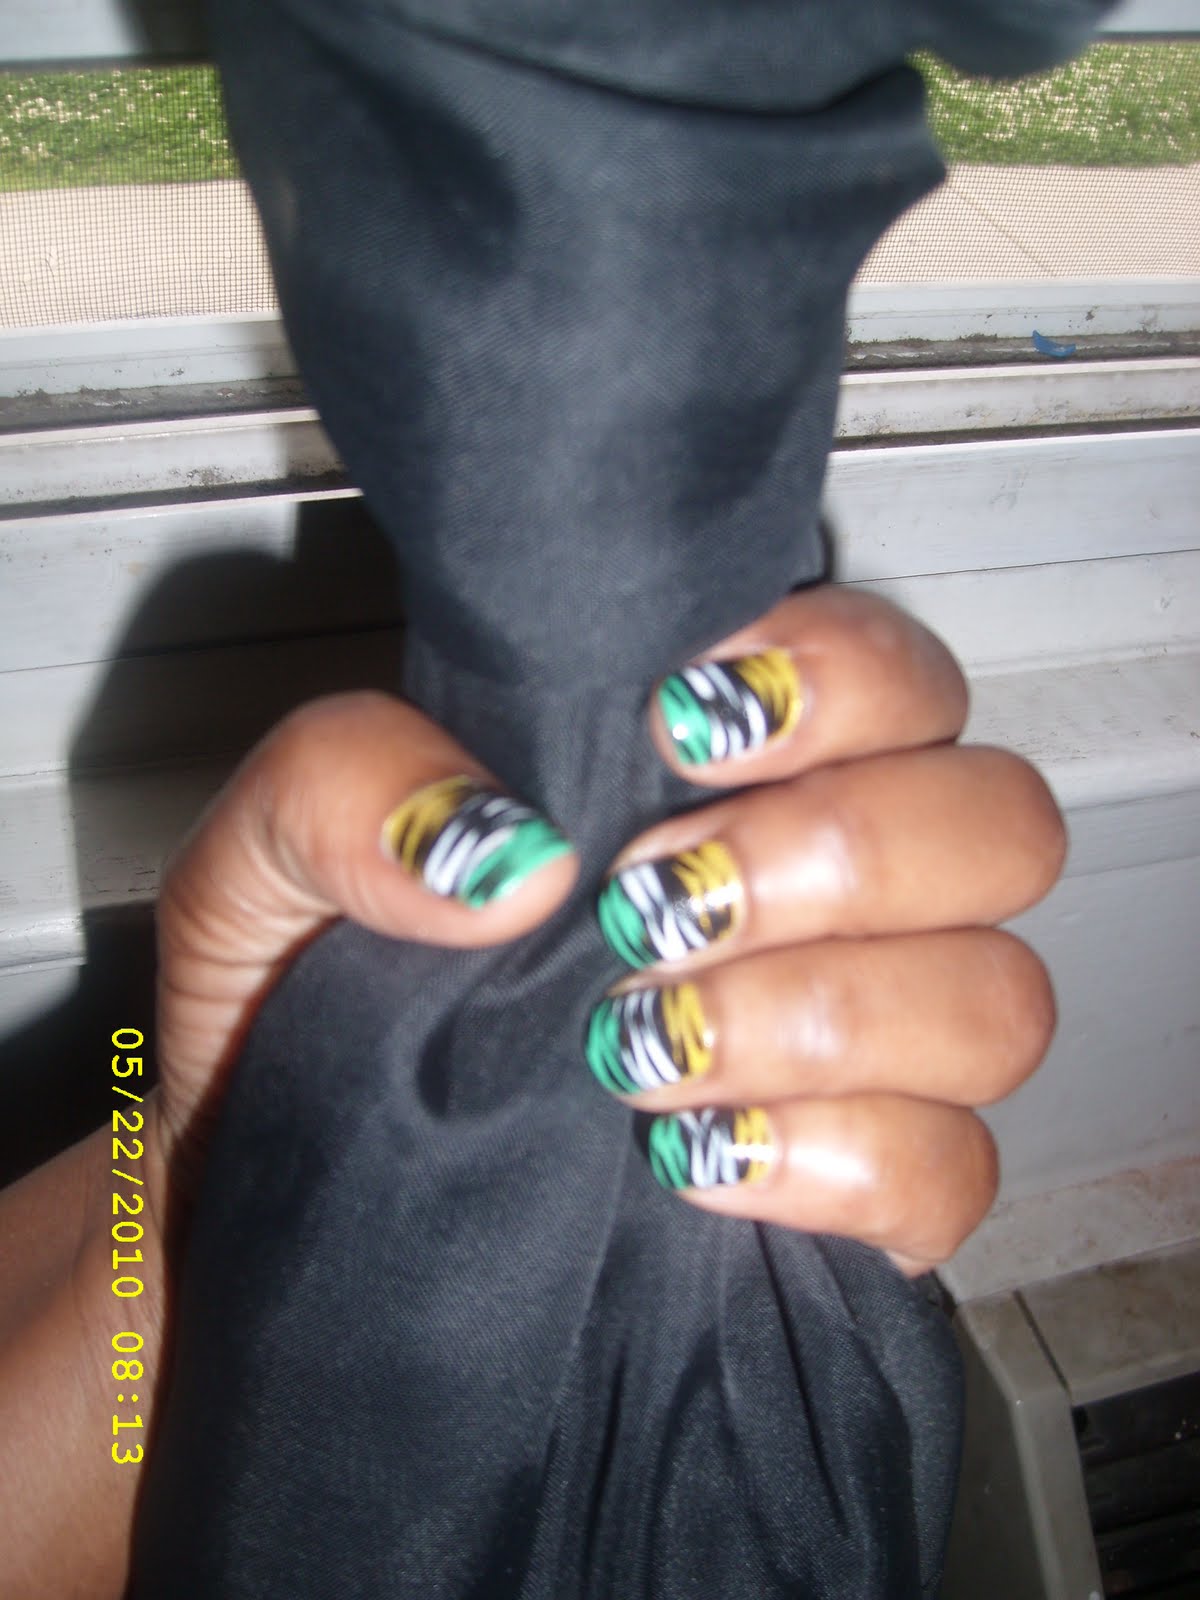
Well ladies, this is my latest, and I call it, JUNGLE KITTEN! (not to be confused with "Here, Kitty,Kitty!:) Anyhow, I started out by painted all my nails yellow because it is the lightest. Then, I made a thick black strip across the middle of all my nails with the black polish, right over top of the yellow nail polish. The yellow is called "Lets Meet" by Sinful Colors and you can pick up any black nail color brand. I then went over the tip of my nails with a green color, also by Sinful Colors,called. By this point, you should have three colors on your nails, first the green color, then the black, then the yellow should be left showing through, on the bottom. It does NOT have to be perfect at this point, you will even have some nail color on your cuticles-we will clean all this off at the end! Your black lines dont have to go straight across, you can do them diagonal or whichever way you feel! Be creative! Anyhow, take a black polish with the striping brush and make horizontal, tiger-like lines going across the green area at the top. Your motions should be quick, sweeping motions. With the same quick sweeping motions, take a white polish with a striping brush and do the same tiger-like lines on top of the black area. Take the black with the striping brush and then do the tiger lines on the yellow at the bottom. If you only have room for three or four alternating lines, that is FINE! When you are done, apply any high shine top coat, I used Super Shine by Sally Hansen... Take a Q-tip and clean all around your cuticles is need be!
Again, feel free to add your own style to it, you can change up the colors, you can add sparks, be creative and be You!! No one else is more qualified!! Comment and post photos to show me what you did!!!!
P.s Notice that my nails are A LOT shorter in this post than my other ones. That proves that your nails dont have to be super long to still be FABULOUS! lol
Much Love!

Friday, April 2, 2010

"HERE KITTY KITTY!!"

Why pay ten or twenty bucks for a manicure when you can create something as fabulous as this??? lol Save your wallet the damage and try to re-create this nail look I call, Here kitty kitty!! lol

I started out with Sinful Colors (Walgreens:) nail polish in Let's Meet, which is the yellow color. To create the leopard/cheetah design, I just took a tooth pick, dipped it in black nail polish and alternated between the letter c, u, squiggles and like an off set parenthesis motion. After that, I dipped the same tooth pick in Sinful Colors polish in All About You, which is a gold glitter polish, and filled in the leopard print with it on the middle, thumb, and pinky fingers. I then took nail art paint in a tourquoise color and filled in the leopard print on the index and ring fingers! Exciting right?? lol I know! For those two fingers I went over the entire nail with a multi-colored glitter top coat to bring out the blue! Finished it off with Sally Hansens Super shine top coat on all the fingers! Hope you likey! I wanna c your pictures when you try it so be sure to post them in my comment box!! Much love! 

Tuesday, March 30, 2010

Cute Nail Design Idea!

Well, it was four in the morning and who wakes me up?? Harmoni. Thats right, my lovely daughter explaining to me that she spilled juice all over herself and the bed......lol I could get mad...That's right I could. But that's the risk you take when leaving a cup of juice by your five year olds bed side lol....soooooo after cleaning her up and the bed, at 4:30am, I decided what else was there to do, other than MY NAILS lol. So below are some pics I took of what I did. Pretty cool if ya ask me! lol
TRY IT! 
I started out with Sally Hansen Quick Color Pen in Silver Chrome. Then I took Rimmel 60second vinyl shine in Denim Dreams (blue), and swiped it across my nail on an angle from about the middle left corner to the outter most tip of the right corner of my nail. On the right hand I did the same, starting from about the middle right corner to the outter most tip of the left corner. I took a nail art striping brush in white and lined the bottom edge of the blue color about half way. I then took Wild n Crazy brand polish in Belly Up (black) and did the same angular stripe motion in the opposite direction, painting right over the blue in order to overlap it.
I made another white stripe at the bottom of the black color from edge to edge. That gives it the "geometrical" feel you see above. For a little something extra (as if the design isn't extra enough lol), I took the black color and just dabbed three dots following the angle of the line on my index finger. You can be creative and add your own "little something" to it, but I decided to go with that. To finish it off, I put a layer of Sally Hansen's Super Shine top coat to make it sparkle. lol
As you can see I use a lot of different brands of polish, i like different ones for different things, Motives Nail Candy is a good one, it will run you about 5 bucks. If you you wanna go with an even less expensive brand, I'm really fond of Sinful Colors, which you can get at the drug store for like 2 bucks.
Anyhow, I hope you like my design, comment and Enjoy!