Pages

Thursday, January 5, 2012

Simple Bridal/Refreshed/Everyday Look!

BEFORE MAKEUP APPLICATION


FACE
1.Applied Black Opal Creme Foundaion in Hazelnut all over face evenly.

2. Applied Mac Cream Concealer in NW40 under eye area and brow bone, and blended outward toward temples.

3.Applied same concealor down bridge of nose, corners of mouth, dimple in chin, and middle of forehead. Blend! Blend! Blend!

4. Brushed Motives Photo Finish Powder in Mocha all over face

EYES
1. Primed Eye Lid with Motives Eye Base from lid to brow bone.

2. Applied Motives Creme Eyeshadow in Brown Sugar from lid to brow bone

3. Applied Jordan Eye Shadow Stick in Brown Sugar to just the lid

4. Light brushed Motives Pressed Eyeshadow in Bedroom Eyes over lid

5. Applied Motives Pressed Eyeshadow in Hazelnut lightly to crease and blend over toward inner corner of eye

6. Applied Motives Gel Eyeliner in Little Black Dress

7. Defined brows with Motives Pressed Shadow in Sweet Chocolate (angled brush is key!)

7. Topped it off with Motives Lustrafy Mascara in Black Out

LIPS
1. Applied Loreal HIP Brilliant Shine Lip gloss in #178

2. Applied Motives Lip Plumper in Temptress over top

*As an extra highlight I used an illuminator on top of cheek bones and down bridge of nose from Mac, don't know the name. And I can't remember what blush I used but any plum or cinnamon blush will do.


AFTER
Professional Picture by Rodney L. Photos
Hair by Iesha of Serene by Nature Salon in Mt. Holly NJ


TRY MOTIVES COSMETICS!!

Pretty Plum Makeup Look- Good for Any Occasion

Products Used:
Face
Motives Perfecting Face Primer
Revlon Color Stay Foundation (Mocha)
Motives PhotoFinish Pressed Powder (Mocha)

Cheeks
Motives Pressed Blush in (Runway in hollows of cheek and Shooting Star on apples and highlight area)

Eyes

On entire lid to brow bone
Urban Decay Primer Potion
Motives Creme Shadow in (Bubble Gum)
Motives Pressed Eyeshadow (Pink Diamond)
In the crease
Motives Pressed Eyeshadow (Sweet Plum)
Motives Pressed Eyeshadow (Sweet Chocolate)
To make eyes pop!
Motives Gel Eyeliner (Little Black Dress)
Loreal Liquid Eyeliner (Carbon)
Motives Lustrafy Mascara (Black Out)

Lips
Motives Lip Crayon (Eggplant)
Clear Gloss (Any)

Wednesday, January 4, 2012

Cute Simple Updo for Natural Hair!

So you have been wearing your twist set for a while....NOW WHAT? I will share with you a cute and simple style that will spice it up and show the versatility of your lovely twist set!

What you'll Need:
  • A Pair of hands
  • Bobby pins or butterfly pins
  • Smoothing soft bristle brush and gel for the edges (totally optional)
Step 1. After you have already twist set your hair (See post: Twist Set Techniques for Natural Hair), open your palms in front of you. Lightly sweep up the section of hair located at the temples of your head back away from your face in a half "C" type motion to create a hump type look. Do this with just the middle section. In this sweeping motion, your thumbs should lightly brush against the top of your ear. If you have done it correctly, some of your hair in the front should have naturally fell to your face and the the hair in back should be still out.

Step 2. When you have gotten the desired "bump" effect, secure it with bobby pins. Be sure to kind-of roll and tuck the ends of your hair into each other, and pin them down so no stray ends are showing. It should be more rounded and sleek looking but it does not have to be too perfect because you want it to appear effortless. 

Step 3. Once that is secured, play around with the front strands that are hanging down in the front to your liking. You can arrange them as a bang, pin them up and back, or pin them back behind your ear. Whatever you desire!

Step 4. Now that the middle and front are done up and styled the way you want, then go for the back! You want to take that SAME open palm, half "C" sweeping motion you used in step 1, for the back as well. This time your thumbs should graze the back of your ear. Starting at the bottom, grab the hair and begin to roll it into a french roll and pin as you go along. When you get to the midde, where you secured the "hump", pin some hair over top of that, making sure to hide any loose ends or bobby pins.

Almost Complete!

To finish off the style, you can either add flowers to make it festive, or any type of hair jewlery to spice it up. Or just leave it as is, which is what I did!

Oh yea! Don't forget to brush and smooth up them beady beads around your edges and neck! lol Slap some gel on 'em if you have too!

Your All Done! Comment and tell me how you did!


If you enjoy any of my articles please leave a comment and Follow!!!
Thanks a Million!


Tuesday, January 3, 2012

TWIST SET TECHNIQUES on Natural Hair

Hello Hello! For those of you who know or follow me, you know me and my daughter's hair is "natural." Meaning no chemicals to make it straight or curly, I use flat iron to straighten, or other techniques to style our hair. Anyways! Whenever I wear my hair in a twist set, I get tons of compliments and alot of people ask me if I did anything to it to make my curls look so defined. I did....lol and I decided to share it with you all here on my blog!

But first, the products!

My daughters hair type is a lot coarser than mine and tends to be very dry. My hair is very soft and fine, and still is also very dry(sheds and breaks easily too!Tips!Help!). Because everyone's hair type and tendancies differ, when doing this particular style, technique and product are key to opitimize the beauty and reduce the amount of shrinkage of your twist set. Finding your perfect products are a process and come thru trial and error so if you dont know what works best for your hair just yet, that is ok! I am sharing this with you exactly for that reason, so that you can try and see! Maybe it will work!

Here is what I used for Harmoni's (my dghter:) twist set.
1.H2o
2.B&B Super Gro with Vitamin E, Sage, Sulfur and Coconut Oil
3.Cantu Shea Butter Leave in Conditioner
4. Jam shining and conditioning gel-extra hold

Here is what I use for my hair:
1. H20
2. Vitale Extra Virgin Olive Oil
3. Design Essentials Natural Curl Stretching Cream

*Now these are not the ONLY combination of products that make for a good twist set. There are many others I have yet to try and would like to (i.e, Eco Gel) and some I have tried that works just as well, but I always go back to these basic products.


Lets Get Started!

The first thing you want to do is start with clean hair. Part your hair in half from ear to ear. Section off the top portion with a hair tie or clip, and leave the back out. We will do the back part first.

Curl Stretching tips that may work:
In order for Harmoni's twist set to come out more defined and with less shrinkage, after washing and conditioning it, I blow dry her hair a little (not completly straight b/c i end up re-wetting it a little anyway), with old fashioned hair grease lol For my twist set, I towel dry my hair and use a stretching creme product on each section before I twist it.

Using product(s)  that work best for your hair type, you want to:
 
1. Evenly coat each piece of hair with your setting product(s), and individually double strand twist the back portion of your hair only.  Bigger twists sections will produce a larger gap in the ripple of the curls, using tinyier sections of hair will put the ripples closer together. I like mine to be somewhere in the middle.
Do not make your parts even! It helps the curls fall more naturally when you take the twists out!
 
2.When complete your individual twist in the back, untie the top portion and twist it in a corn row style. Be sure to coat each section you cornrow twist with the setting products you use. If the hair began to dry up, just spritz it with water.  
 

3. After you completely twisted and conrowed your entire head, your hair should still be damp. It will take some time for the cornrow style twists in the front to completely dry underneath. At this point you can sit underneath a hooded dryer, or if you prefer to avoid heat, you could sleep with this overnight to allow it to set; then take them out in the morning. Depending on the thickness of your hair and how long it holds moisture, will determine how long it will take to dry. Either way, personally, I prefer to set the twists by keeping them in overnight (can't stand sitting under the dryer!lol)

Photo by RK Photography


These two pictures are what my curl pattern looks like after I do my twist set.  

Please comment any thoughts, tips or techniques you have come up with! Thanks for following!

Tuesday, October 19, 2010

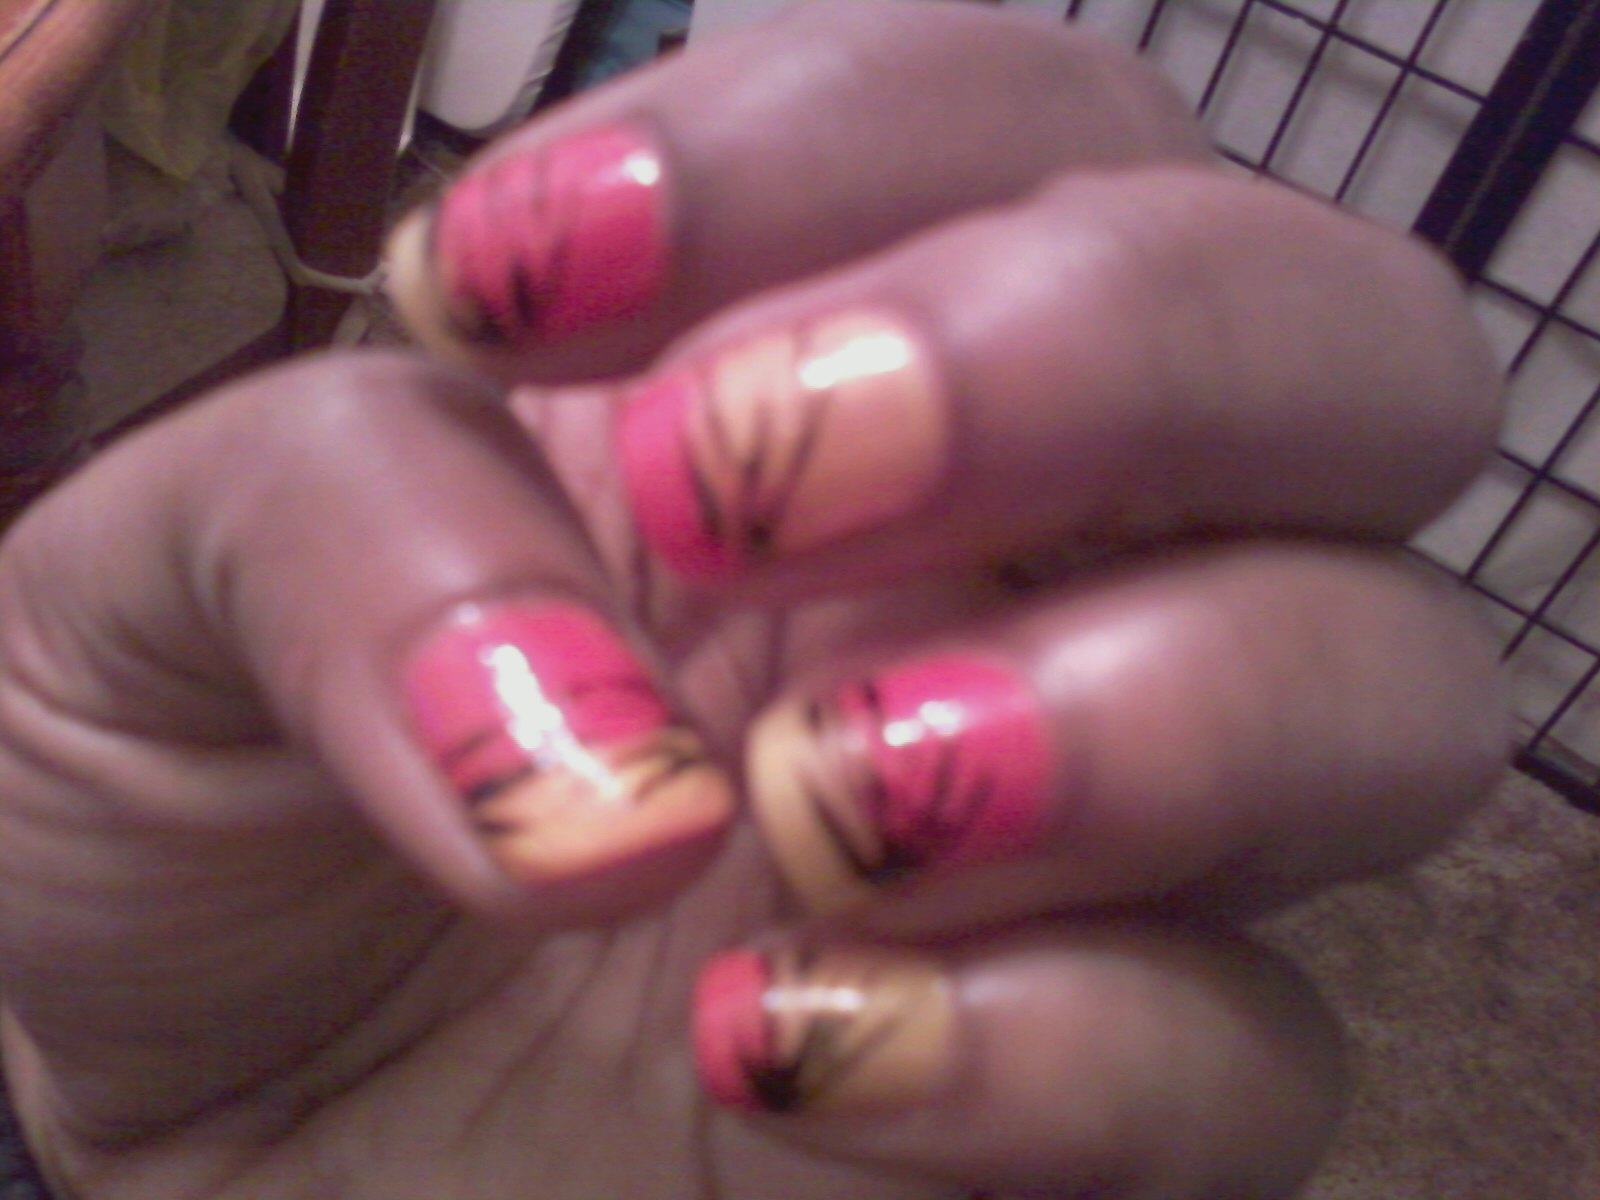
Complex Nail Design

Wow! Right?? DETAILS COMING SOON!

New Nail Design I call, Sunset Boulevard

Instructions on how you can create this design on your own, coming soon!

Monday, September 20, 2010

YURADICHE BOUTIQUE: The Spirit of a Woman

YURADICHE BOUTIQUE: The Spirit of a Woman
By Nikki J

When you think of finely tailored suits and coats, denim that fits to perfection, intricate and interestingly knitted tops, embroidery and craftsmanship, and highly fashionable garments, what places comes to mind? Spain, Italy, France or even New York for sure! No one ever thinks New Jersey, right?! Well, think again! Right off the highway of route 70W in Cherry Hill New Jersey, you will find Yuradiche Boutique. An intimate boutique who’s name means the spirit of a woman in African, carries woman’s evening, business, casual, and resort wear, including accessories and shoes, all with a feel of coming from abroad. Plenty of “off the radar” designers such as, Yoana Baraschi, Olivia Rose Tal, Cecilia de Bucourt can be found amongst the selection, along with some independent merchandise as well. Owners Melissa Feliciano, Tyra Belford, and Toni Allen, pride themselves on showcasing garments from fabulous obsure designers, as to breath life into an otherwise saturated market of some of the more commercial names. At Yuradiche, a maximum of three or four items of any one style is purchased at a time—and then it’s gone. This is the ideal atmosphere for the young or mature adult who loves fashion, who loves to make a statement, who loves to discover, and wouldn’t be caught DEAD in the same ensemble as Franny Fashion-Don’t up the street! You can expect to find classically sophisticated silhouettes such as the hourglass, to the more trendier silhouettes such as the triangle, the exclamation point, and even the Popsicle! A girls gotta have options right?! Leopard print is a must and bold, attention grabbing accessories is a mainstay here. Still, aside from all the hype, one would think you would have to spend a pretty penny to receive this type of exclusivity and flare, however just the opposite is true. Appealing to customers of every pocket book, Yuradiche’s price point ranges from $10-to $200! No more trips to Tar-jeay for this Friday night fashionista! lol Customers can even request shop by appointment head-to-toe beauty consultations, or their very own private trunk show to shop comfortably in the location of their choice! The spirit of a woman? I think so! All in all, this boutique is grade A when it comes to assortment selection, customer service and price/quality ratio. Watch out world, New Jersey has much more to offer than amusement parks and beaches!

www.yuradicheboutique.com
www.yoanaburaschi.com
www.oliviarosetal.com